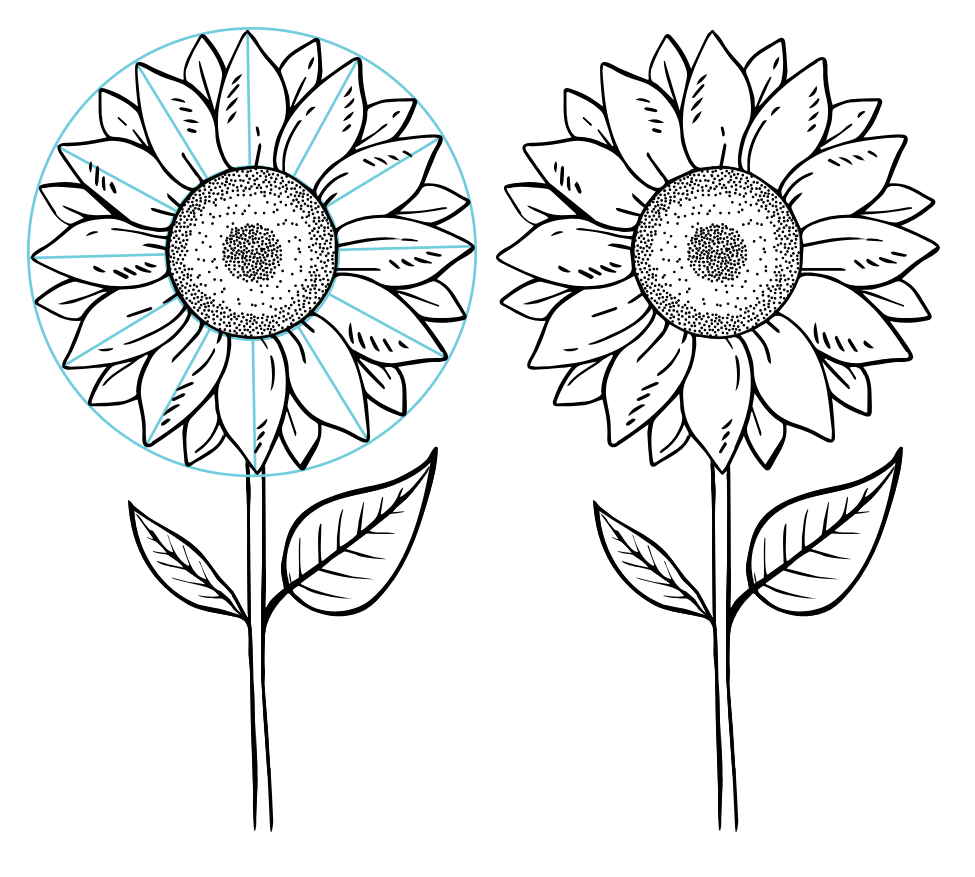
How to Draw a Sunflower: Step-by-Step Guide
Sunflowers are cheerful, sunny, and surprisingly easy to draw once you break them down into steps! In this tutorial, we’ll go from simple shapes to a full, blooming sunflower. Let’s get started 🌻
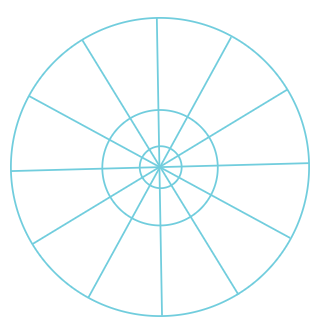
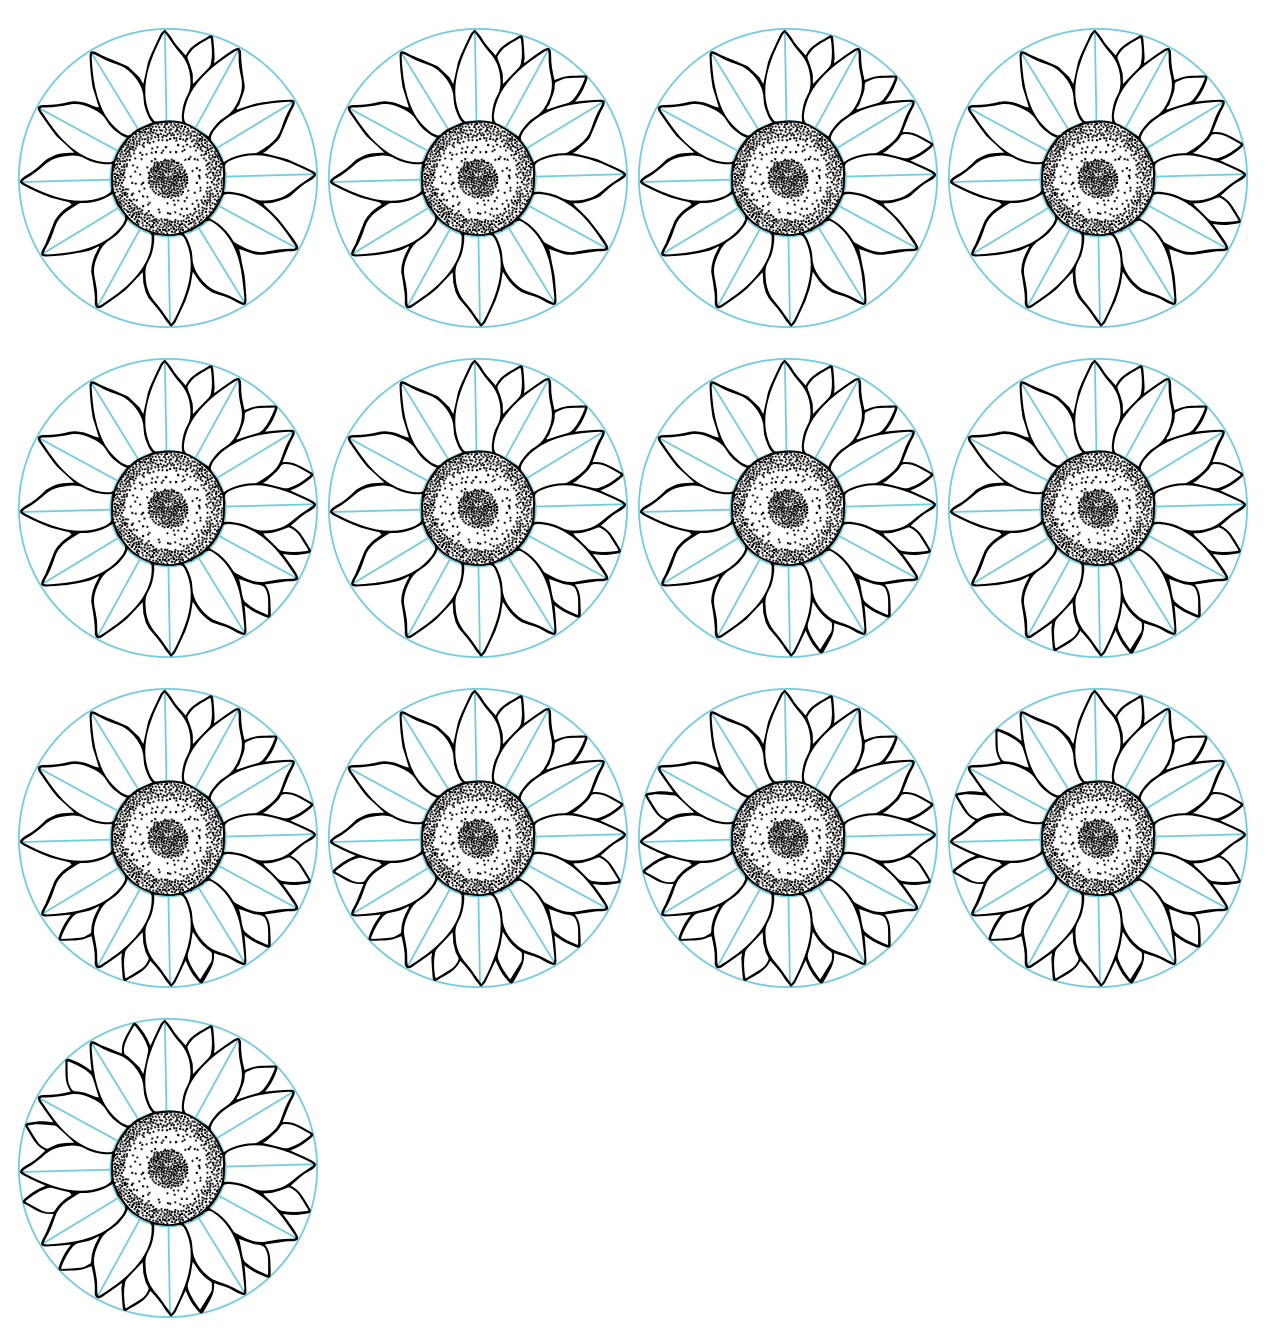
Step 1: Draw a Circle with Guidelines
Start by drawing a neat circle — this will be the face of the sunflower. Then, divide it into 12 equal slices, like a pizza. These lines will help you place the petals evenly later.
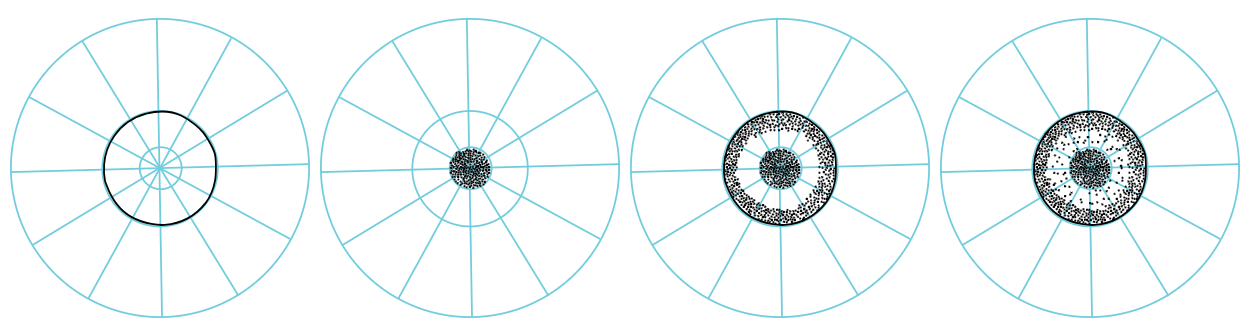
Step 2: Add a Tiny Center
Inside the circle, draw a much smaller one — the sunflower's center (or disk). Add a couple more rings around it to prepare for adding texture later on.
Step 3: Build Up the Center
Darken the inner circle and fill it with tiny dots or scribbles to create texture. It doesn’t need to be perfect — just round and full.
Step 4: Dot Along the Inner Edge of the Second Circle
Add dots along the inside edge of the second ring. Keep them spaced more loosely than the center but still fairly tight to give a consistent look.
Step 5: Scatter Dots Between the Two Circles
Lightly scatter dots between the two outer rings. These should be random and less dense to create a natural texture fade outward.
Step 6: Begin the Petals
Now the fun part — the petals! Use the guideline slices as markers. Draw elongated, teardrop-like shapes that start from the center and stretch outward between two lines. Let each petal taper off and end roughly halfway between the current guideline and the next. No need to draw a full petal — stopping early helps give them a natural overlap and organic look. Variation is good!
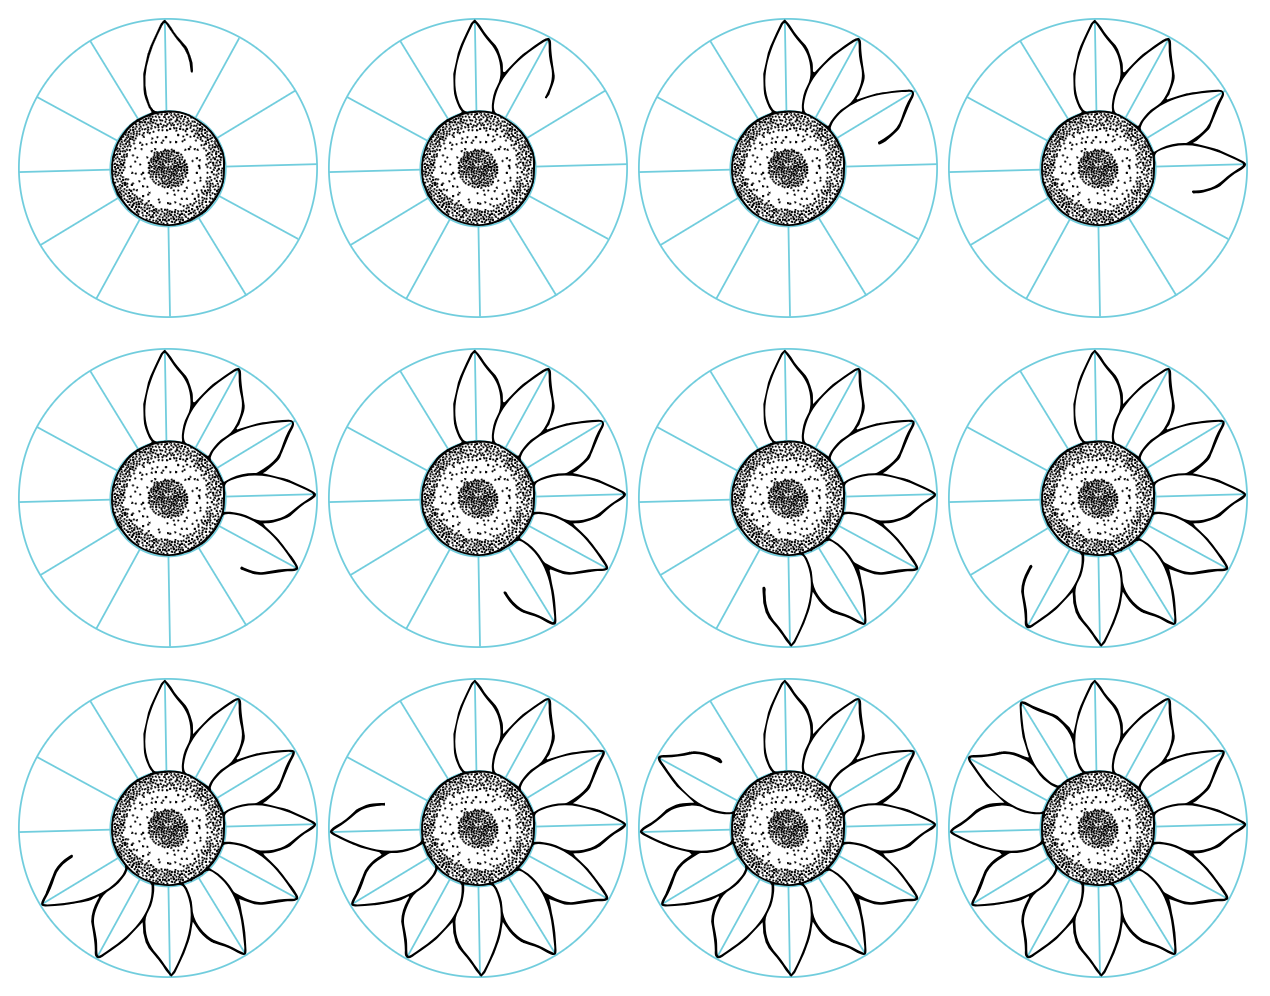
Step 7: Add a Second Layer of Petals
Draw a second layer of petals tucked behind the first row. These should peek out between the front petals. Keep them slightly shorter and centered between the gaps of the first layer to create that full, layered sunflower look.
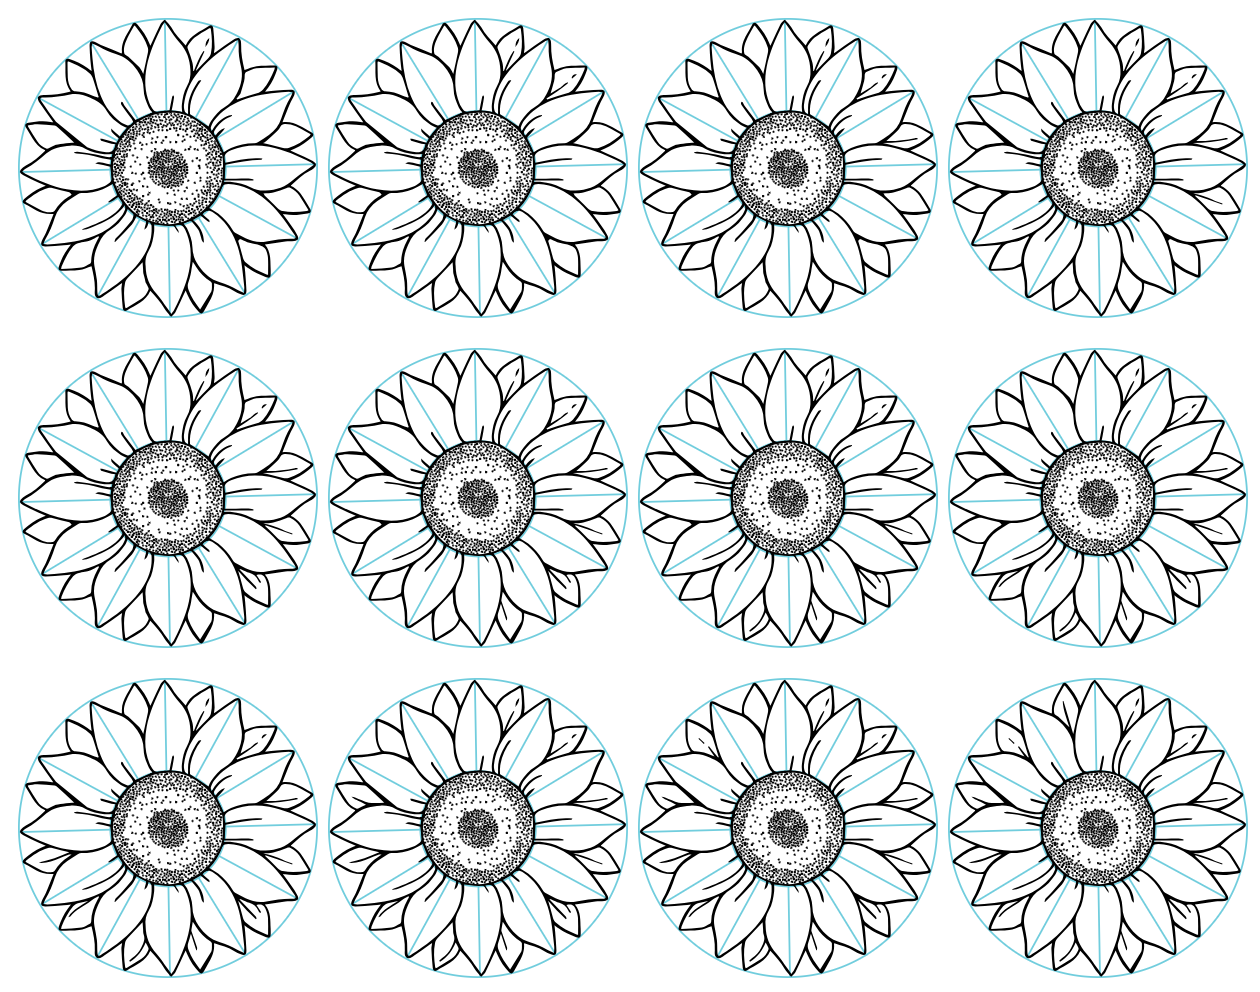
Step 8: Texture Lines on the First Layer of Petals
Add short, subtle lines starting from the base of each petal. These mimic the natural veins. For the first layer, keep them short — no longer than halfway up the petal.
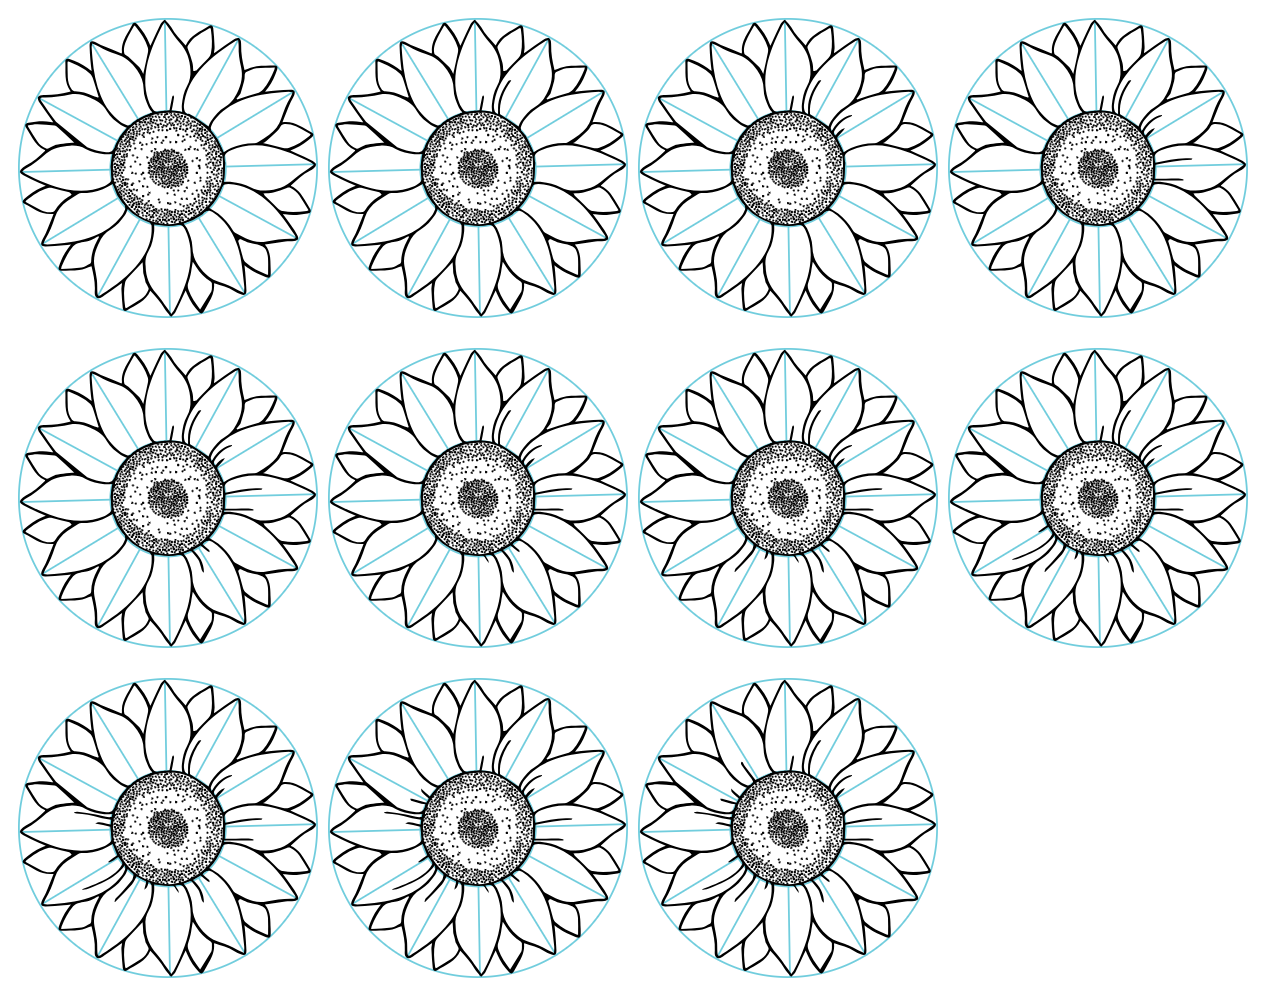
Step 9: Texture Lines on the Second Layer of Petals
For the second layer, the lines can be longer, nearly reaching the tip. This gives those background petals more dimension and depth, helping them sit visually behind the front layer.
Step 10: Add the Stem
From the base of the flower, draw two slightly curved parallel lines going downward to form the stem. A bit of wobble makes it feel more natural.
Step 11: Add Leaves
Draw one big leaf on one side of the stem, and another a bit lower on the opposite side. Start with a central line and draw the jagged, curved shape around it — sunflower leaves are bold and fun!
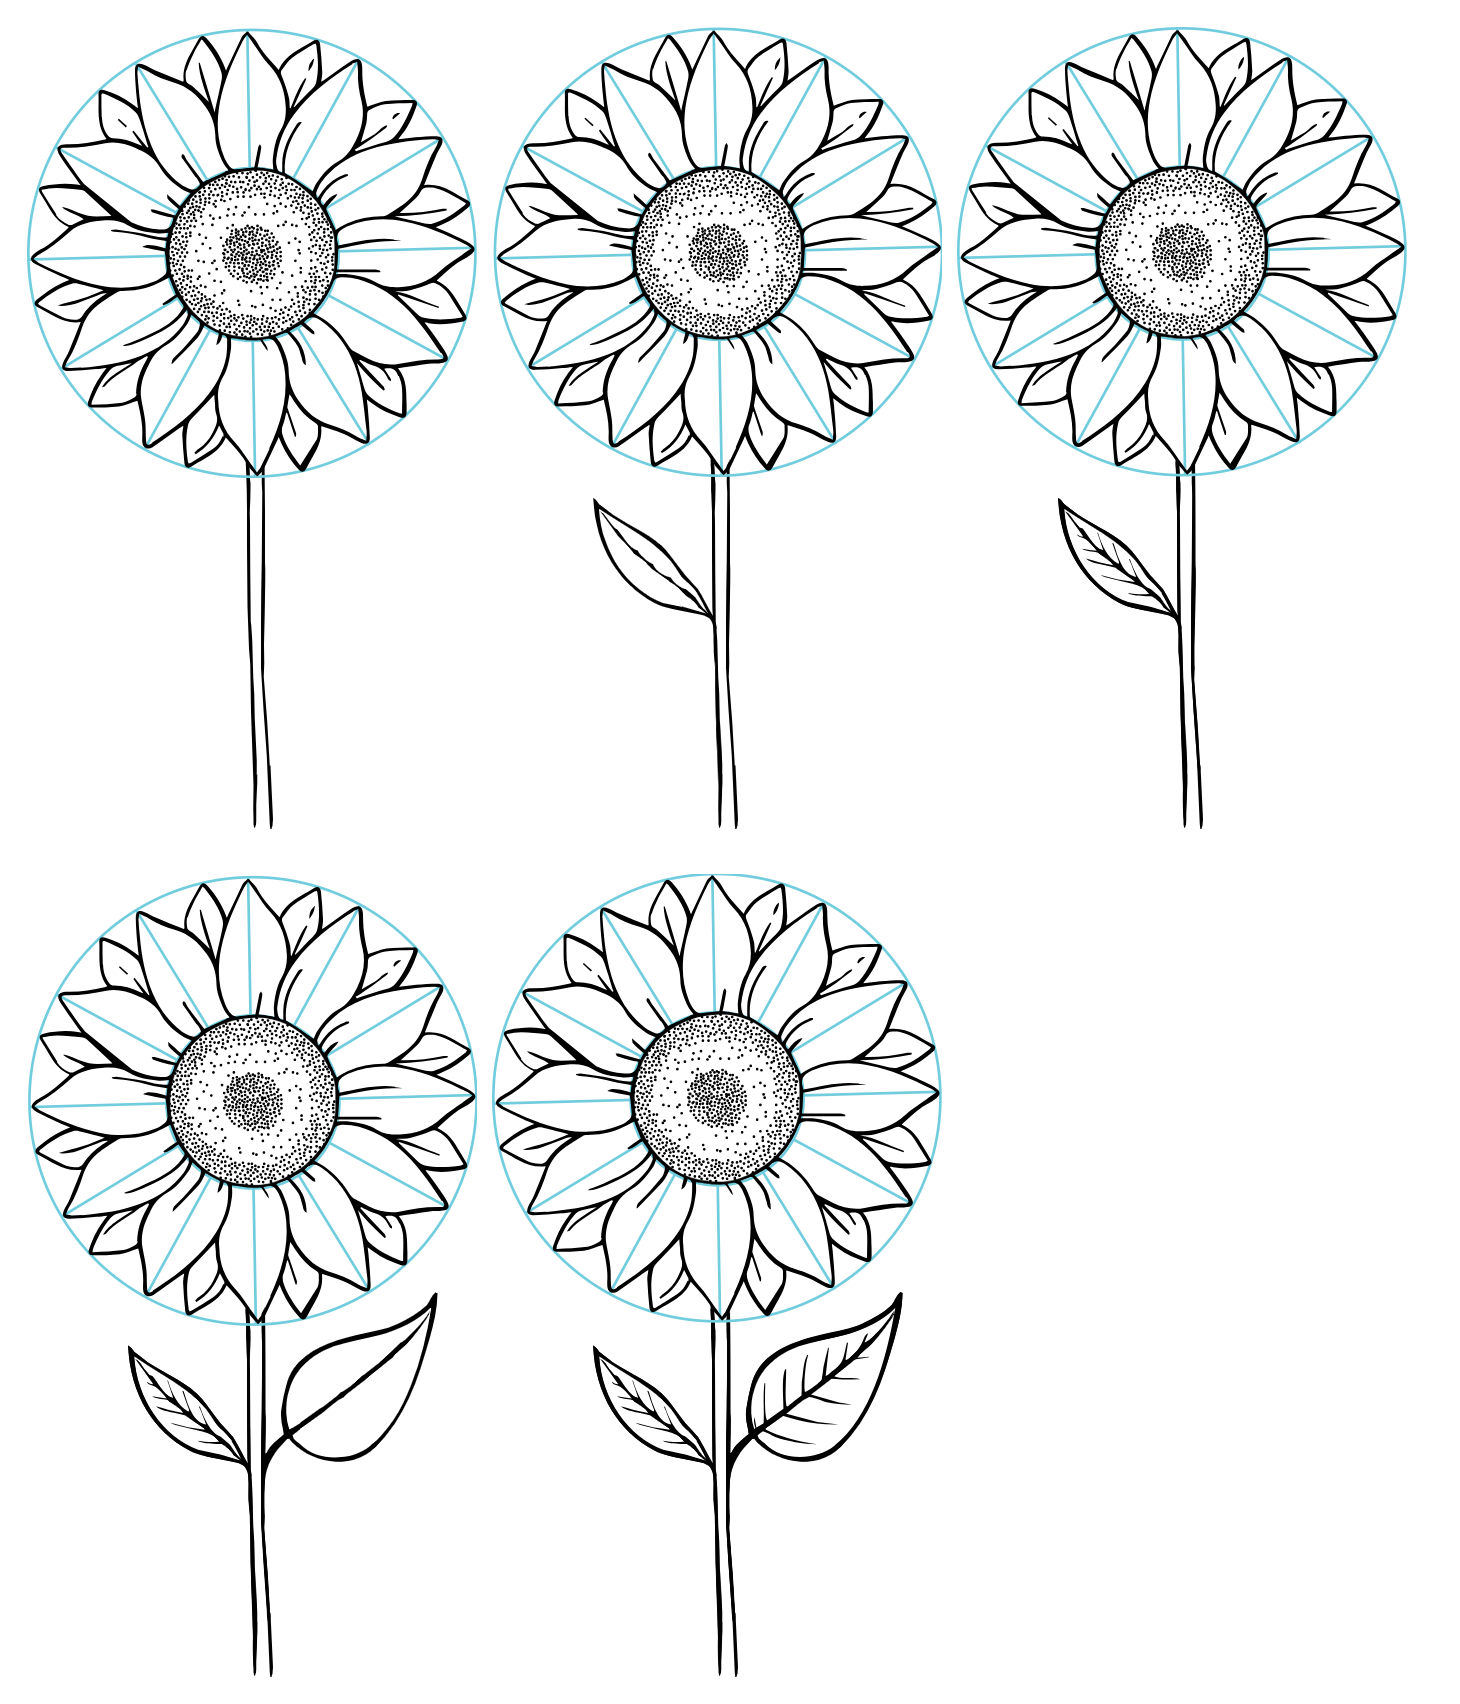
Step 12: Final Touches
Add tiny dotted or dashed lines radiating out from the center. Lightly shade areas where petals overlap or meet the center. Shade one side of the stem and under the leaves to show a light source.
Step 13: Clean Up
Erase extra guidelines and you’re done! Your sunflower drawing should now look clean, cheerful, and full of life.